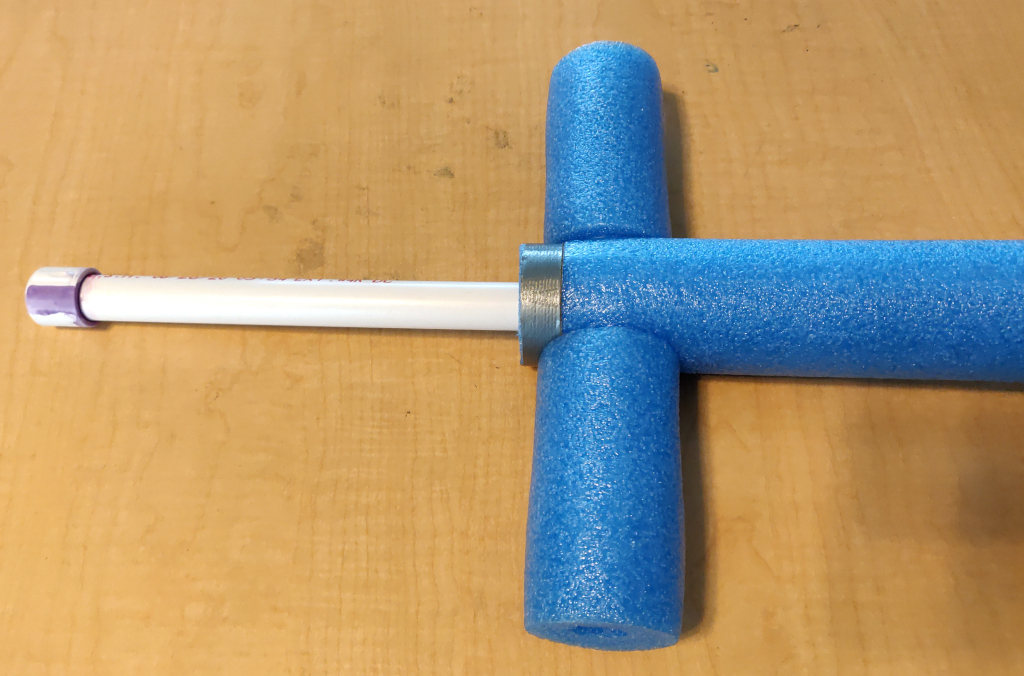
Pool noodle PVC swords
Swords are cool. Sword fights, doubly so. But sword fights are dangerous, so we don't let kids do that for fun. Unless we make the swords out of pool noodles. One approach is to wrap one end of the pool noodle in duct tape to create a "light saber" style sword; but that design is hard to swing well and devolves towards treating it like a cross between a sword and a whip.
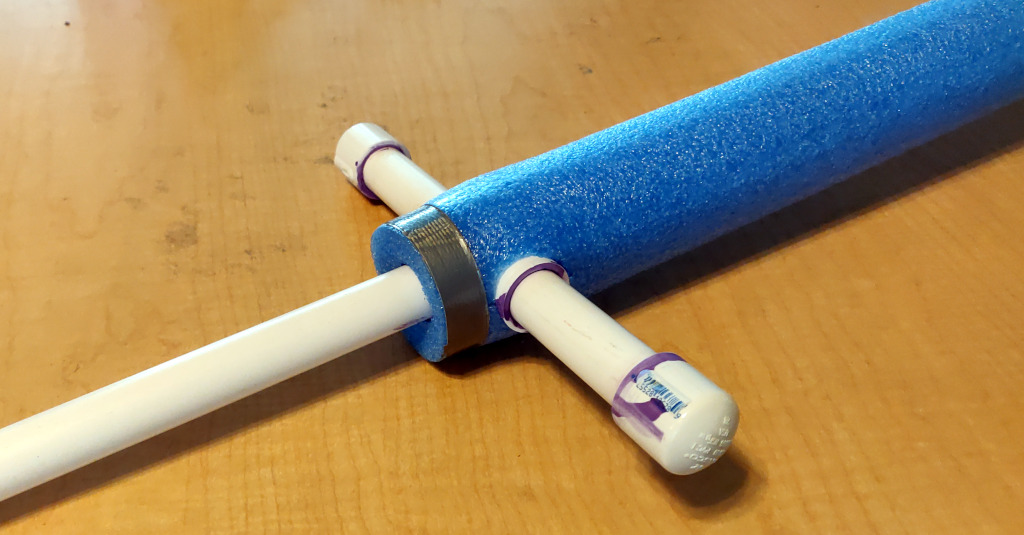
The main complaint with the pool-noodle-as-sword approach is that swinging a limp noodle does not work well. So let's reinforce the noodle with a section of PVC pipe. But if we do that, we can add a sword hilt while we're at it. We also want to make sure that the PVC pipe end won't injure a playmate from an enthusiastic thrust.
Materials
Parts to make 5 swords:
| Item | Price | Qty | Total |
|---|---|---|---|
| 10' 1/2" PVC pipe (pressure pipe, thinner wall than schedule 40) | 2.98 | x 2 | 5.96 |
| 1/2" PVC cross fitting | 1.51 | x 5 | 7.55 |
| 1/2" PVC end cap | 0.51 | x 20 | 10.20 |
| pool noodle | 0.97 | x 5 | 4.85 |
| duct tape, 45yards | 5.28 | x 1 | 5.28 |
| 4oz PVC primer+cement pack | 7.70 | x 1 | 7.70 |
| Grand total | $41.54 | ||
That works out to $8.31 per sword. (Prices circa 2021-Q3.) This should not consume the entire roll of tape, nor all the of the PVC adhesives, so if you have those on hand or have additional uses for them you can reduce your costs accordingly.
If I were to do this over again, I would also buy a single 1/2" PVC coupling to turn into a cutting tool instead of using a short bit of PVC pipe.
Assembly
Cut one of the 10' PVC pipes into four 30" sections. Cut a 30" section off the other pipe. That gives you 5 blades.
Then cut ten 3-3/4" sections to use as hilts.
Then cut five 9-1/2" sections to use as handles.
Cement an end cap to one end of each PVC section.
Cement two cross-guard assemblies opposite each other in each PVC cross fitting.
Cement one handle assembly in each PVC cross fitting.
Cement one blade assembly in each PVC cross fitting.
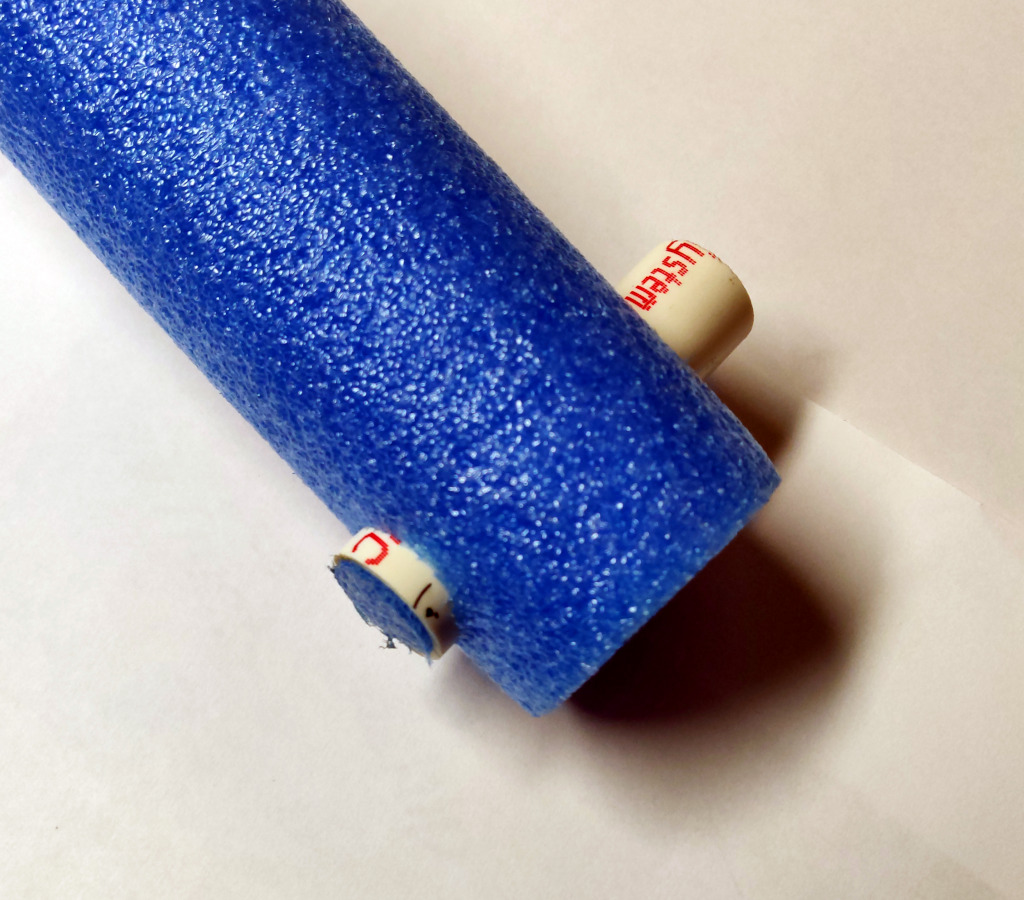
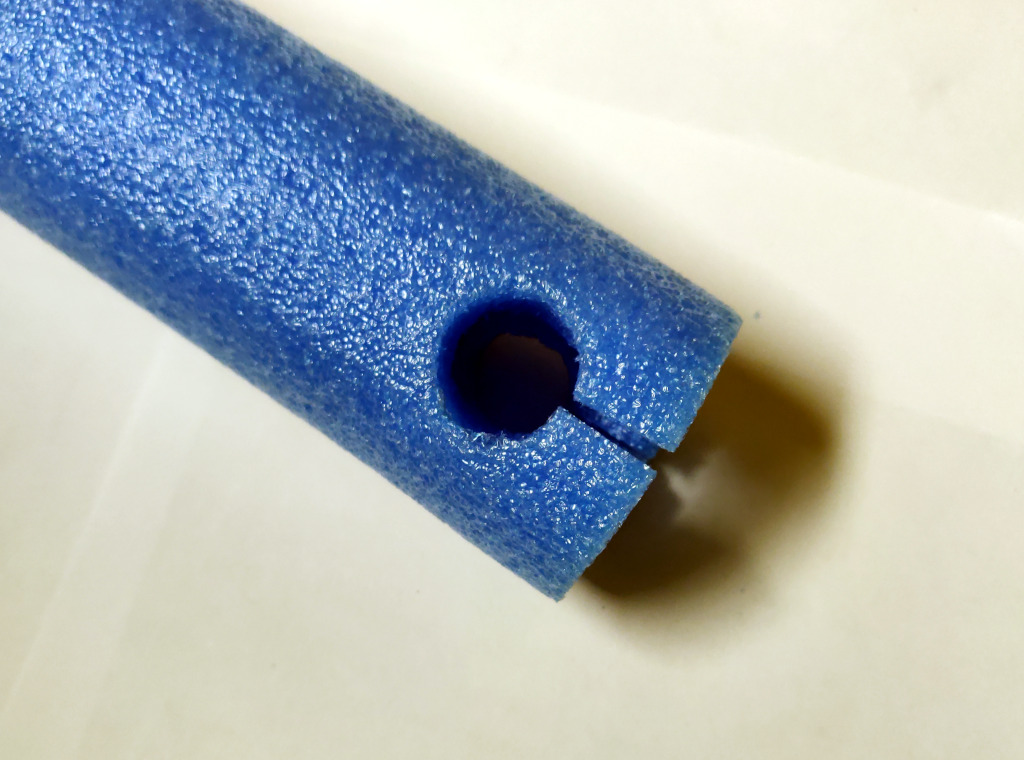
Measure the shoulder of the cross fitting. Cut a circle near one end of the pool noodle, so that the edge of the hole is that distance from the end of the noodle. There are a few options here. You can just hack a hole into it with a sharp knife, or you can get a 1/2" PVC straight coupler fitting, and sharpen one end of it, and use that to cut the circle. Or you can use the small leftover chunk of 1/2" pipe to cut the circle, though that yields a hole that is slightly under-sized.
Slit the pool noodle from the end to the hole so that it can be pushed over the cross-guard.
Slide the noodle down over the PVC blade.
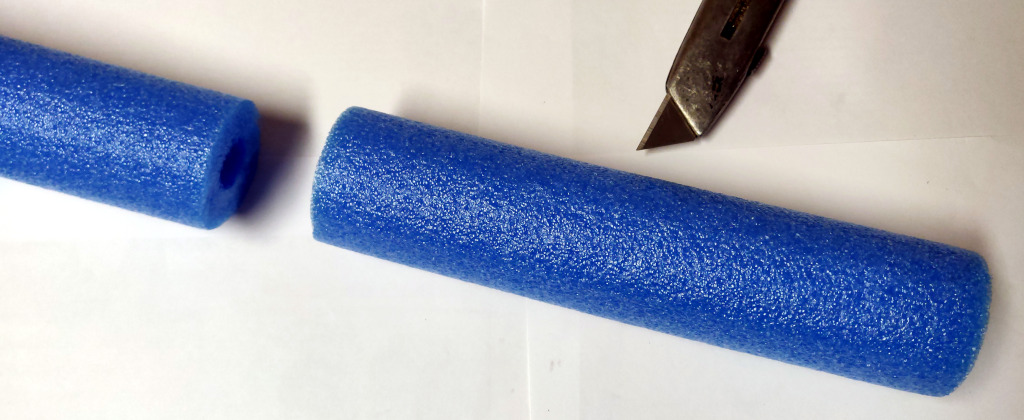
Measure 40-1/2" from the base of the noodle, and cut the noodle to that length.
Tape the noodle around the base of the cross guard with a piece of duct tape, cut to about 1/3rd the typical width of duct tape.
Optionally, you can take the excess foam cut from the blade, cut it in half, and use it for a foam-ensconced hilt.
Optionally cover the entire noodle with duct tape to improve its durability. Without this, energetic sword fights can tear small bits of foam out of the blades.
This could be taken up a level with some tennis racket handle wrap on the handle to make it more grippy and less obviously made from PVC. In my hands, the 1/2" PVC pipe is a bit too small; were I to build one for myself, I would consider a larger diameter for the handle, which would imply a reducing coupling, and the junction with the cross piece might be awkward or look odd. The coupling, and a second size of pipe would also increase the cost.
As for concerns over durability, five kids playing with these for a couple months has yielded no broken swords or requests for repairs. I'd rank that as pretty good durability.
Ready. Set. Fight!
Making toy wooden swords
One of my sons bought an inexpensive wooden sword at a nearby Renaissance festival. And naturally, his older sister wanted one as well, but...it's gotta be a bigger one. Sibling rivalry? What's that?
Looking at the design of the sword, I could see it was pretty straight-forward to replicate, so I told her that if she bought a 6' 1x3 select pine board at the local hardware store, I'd turn it into a sword. Woodworking is fun! And educational!
The basic design is to cut a board for the cross-guard, 5 to 6 inches long. Then cut another piece to the length of the blade and hilt. I mounted the latter board on a 1x6 with a clamping set to get a straight tapered cut from the tip to where the cross-guard would be. I then put the tablesaw blade at about a 45 and gave it 4 cuts to provide some shape to the blade's cross-section and that look of having a pseudo-edge. My daughter had sketched what she wanted the hilt to look like, so I used a bandsaw to get a rough shape to the grip and pommel, then took that to the bench sander and shaped it generally "by eye". For the part of the grip where the cross-guard belongs, I was aiming for a shape that would fit into a slot cut with a 3/4" straight router bit. Once I had the size of that determined, I shaped the rest of the grip and pommel to have a cross-section no larger than that. Then I mounted the cross-guard in the mill and cut the slot into the center with a 3/4" router bit. Four passes on the tablesaw to take off the corners, and I had a cross-guard.
The two pieces looked like this:
The select pine is right at 3/4" thick, so the cross-guard slid over the hilt with a friction fit.
Of course, a 6-foot board was enough to make *two* swords, so I made an even longer, two-handed sword.
The dangerous duo:
While a proper template and a router would have yielded more precise results for the grips, overall I was pleased with how they turned out.

 rss
rss


