Power Strip, Extreme
I have power tools and those from whom I can borrow power tools which require several different types of power. The mundane things run on your standard 120V 15-amp receptacle. The less mundane tools require 240V 15-amp. And then they get interesting... 240V 30-amp, and two variants of 240V 50-amp receptacles.
Wiring up receptacles on the wall for each of those ties the tools to that one location, and for some things, I want to be able to use them outside, not just in one location. So that means an extension cord, but I didn't want five different flavors of extension cord, either. Maybe one extension cord to rule them all and a half-dozen dongles?
I really wanted a more elegant solution. Ok, maybe a less awful solution?
First, let's talk receptacles. Power receptacles follow a standard set by NEMA with identifiers like NEMA 5-15R, or NEMA L14-30R. The key to understanding these is presented in this document from automationdirect.com. Essentially, the first number indicates what wires you have available in that connection. An "L" prefix on that number indicates it is a "locking" variant. The second number indicates the amperage. And it ends in "R" for receptacles, and "P"for plugs. (That document is worth perusing; it improved my understanding of practical electrical power in a number of ways, and helped me see the logic in the design.)
The receptacles around your house are NEMA 5-15R; these provide one hot, one neutral, and one ground wire. Higher amperages (NEMA 5-20R, etc) change the configuration of the prongs and the gauge (thickness) of the wires needed, but they all have one hot, one neutral, and one ground wire. But 240V outlets require two hot wires, so for NEMA 6-series, the neutral wire is replaced with a second hot wire. That isn't the only choice for 240V though; the NEMA 10-30R and NEMA 10-50R that you often see for electric dryers have two hot wires and a neutral, with no ground wire. To get to a receptacle with all four wires you move to NEMA 14-series with two hot, one neutral and one ground.
For the selection of equipment I have or can borrow, I needed several types of receptacles:
- NEMA 6-15R
- NEMA 6-50R
- NEMA 10-30R
- NEMA 10-50R
I didn't want to set up 4 receptacles on the wall with 4 extension cords. I wanted to consolidate this to one extension cord to rule them all. So I needed one that had a superset of the wires of the desired receptacles. The NEMA-6's needed two hot and ground, while the NEMA-10's needed two hot and neutral. So between those, I needed all four wires. That gets us to the NEMA 14-series. And the highest amperage is 50, so the extension cord would have to be a NEMA 14-50P to NEMA 14-50R, with a matching NEMA 14-50R in the wall. As it turns out, those are pretty standard extension cords; they're used for RVs and Teslas. In 50-amp applications, you want 6-gauge wire, not 10-gauge like some on the market are. They aren't cheap; here's a 25' extension cord for $130 for instance, and building your own to cut that cost takes some dedicated comparison shopping for 4-conductor 6-gauge SOOW wire.
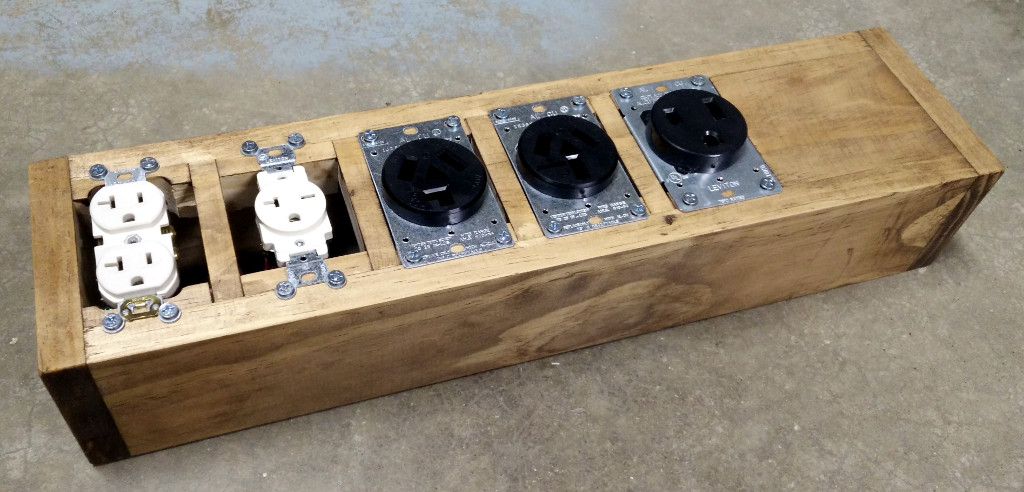
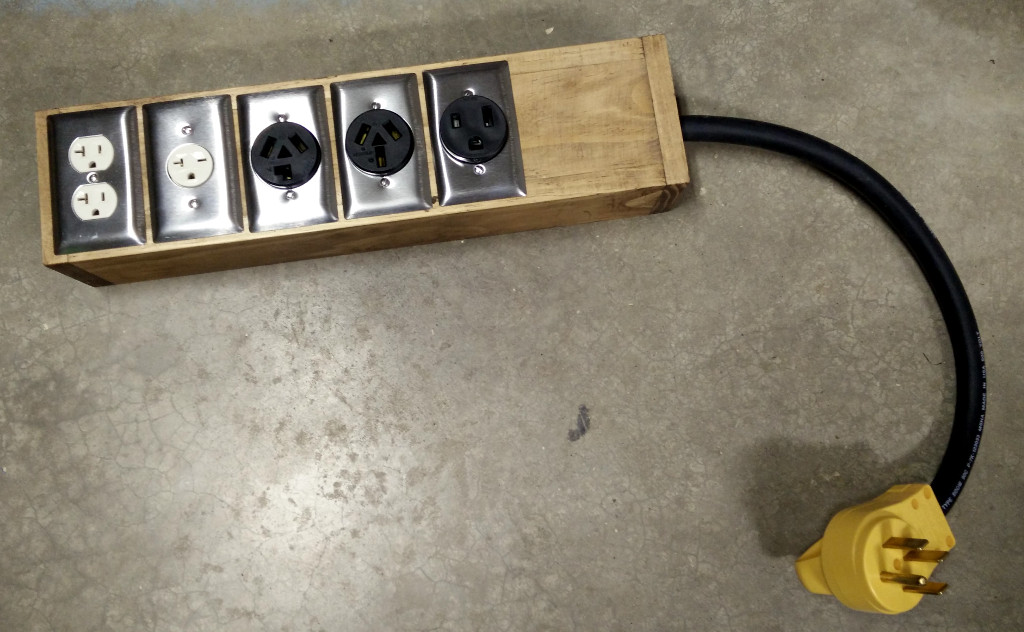
So that solves the extension cord; what about all the adapters? I really didn't want a pile of adapters, so I decided to build a power strip with each of the required receptacle types in it. And since I would already have all 4 wires coming into it, I decided to add a boring old NEMA 5-15R to the mix.
Oh, but there is one additional wrinkle. A NEMA 5-15P will plug into either a NEMA 5-15R or NEMA 5-20R. And a NEMA 6-15P will plug into either a NEMA 6-15R or a NEMA 6-20R. Which means that by opting for the 20-amp receptacle, I could gain additional flexibility with no downside.
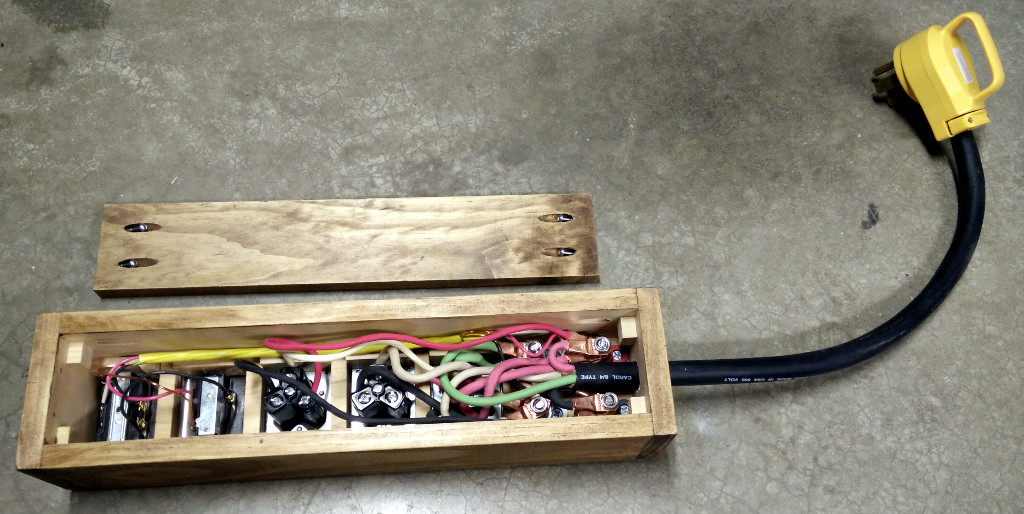
So that gets us our requirements for the power strip; a NEMA 14-50P on one end, and a box with NEMA 5-20R, NEMA 6-20R, NEMA 6-50R, NEMA 10-30R, and NEMA 10-50R. Given that the wire size depends on the amperage, I chose to order them by amperage, with the highest amperage at the end where the cord comes in, so the most expensive wires are the shortest.
A few disclaimers are likely prudent here: this is showing how I approached the problem, not how to safely solve this. Note the lack of any fuses, and the fact that this is connecting devices that are designed to pull 15 amps to a power source capable of supplying 50 amps. Plug everything in at once, and this will easily throw a breaker. Not to be mixed with water. Use this information at your own risk.
This is working well for me. Combined with a massive extension cord, this gives me the flexibility to power what I need, where I need it.
Circles to Rectangles - Tortilla Wraps
Sometimes, algebra and geometry apply to food.
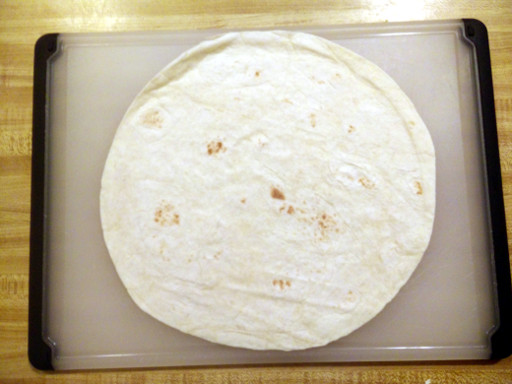
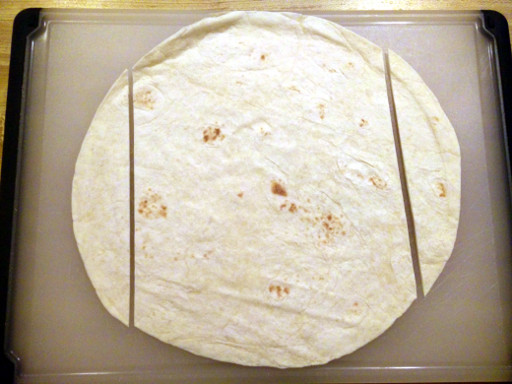
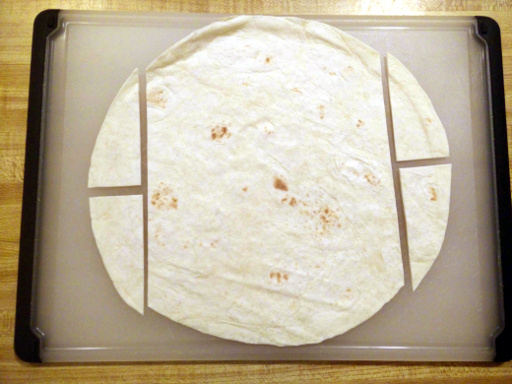
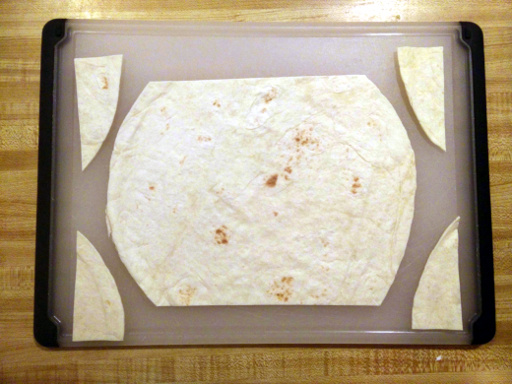
The problem I wanted to solve was how to make a wrap with a single large (10") flour tortilla. Being a perfectionist, I wanted a rectangular tortilla so that the amount of bread was reasonably even through the length of the wrap. With a round tortilla, the ends don't quite enclose the food while the center becomes rather chewy with all the tortilla layers. Knowing that moistening a tortilla and pressing it together will make it adhere, I decided to figure out how to cut a circular tortilla, rearrange the pieces, and wind up with a rectangular tortilla. The strategy I chose was to cut pieces to create corners which could fill the vacant corners.
But where should I make the cuts in the tortilla?
From the diagram, we can describe a few constraints on the lengths and angles.
- a + b = r
- r * sin(o) = b
- r * cos(o) + a = r
Solving the last equation for a yields a = r - r * cos(o). Substituting that and the second equation into the first equation gives r - r * cos(o) + r * sin(o) = r.
Simplifying:
r - r * cos(o) + r * sin(o) = r
-r * cos(o) + r * sin(o) = 0
-cos(o) + sin(o) = 0
sin(o) = cos(o)
And for the sine and cosine to be equal, o must be 45 degrees.
Now that we know the angle, we can apply this pattern to a tortilla by eye-balling where we would cut the tortilla if we were to turn it into quarters. Once we have the points around the edge of the tortilla, we can cut opposite chords, then cut those parts into symmetric halves.
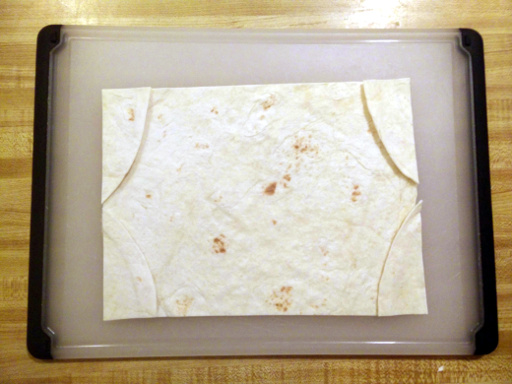
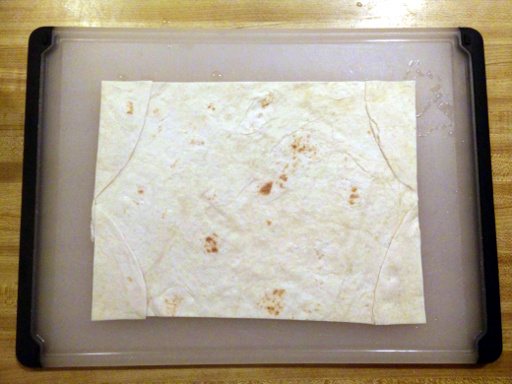
Now that the pieces are arranged, wet them and press them into place with the heel of your hand.
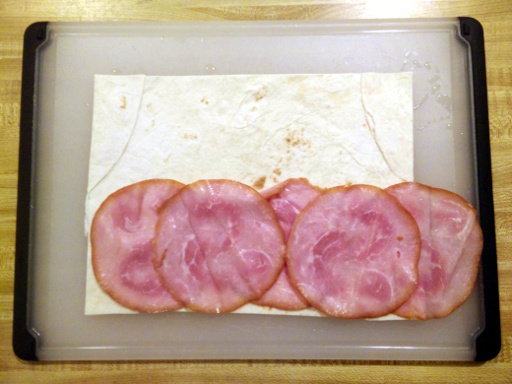
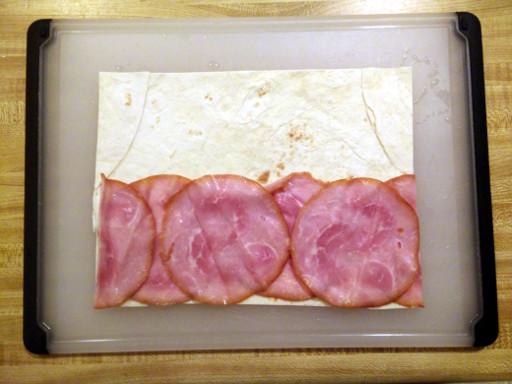
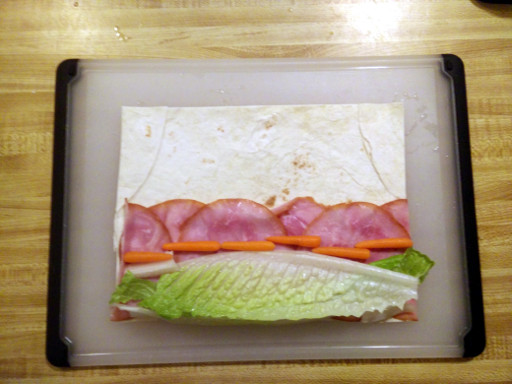
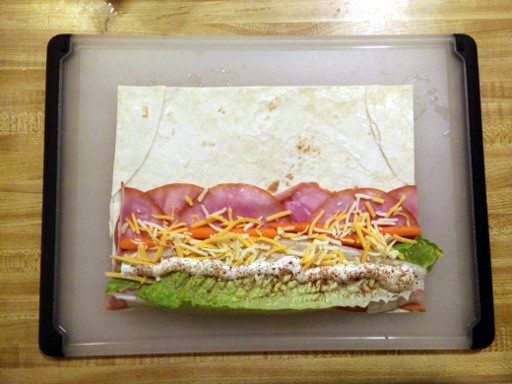
And now we have a rectangular tortilla. Time to add the meat (evenly!)
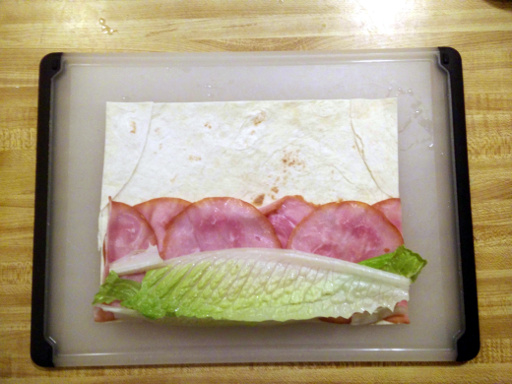
and veggies
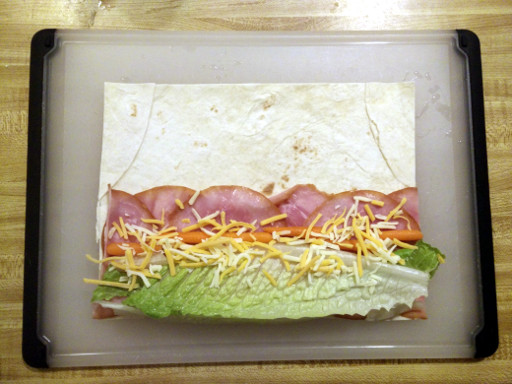
and cheese
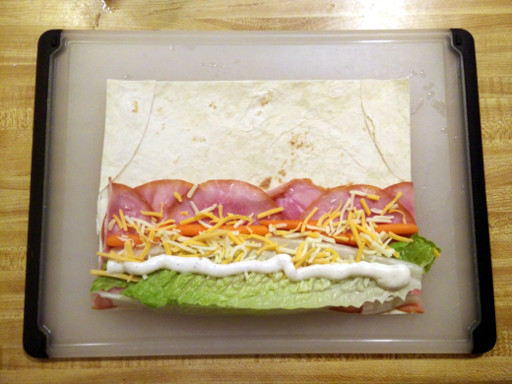
and dressing
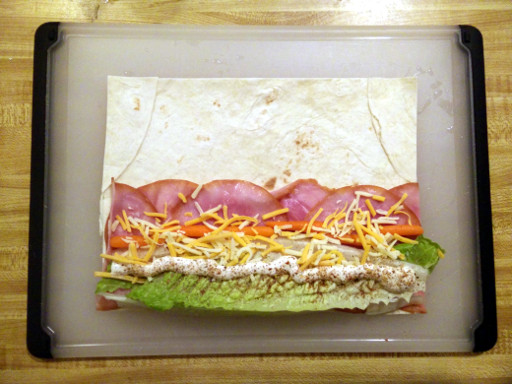
and a dash of fresh ground red and black pepper.
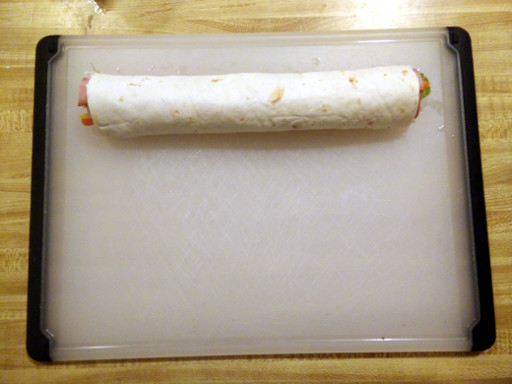
Wet the upper portion of the tortilla
and firmly roll the wrap.
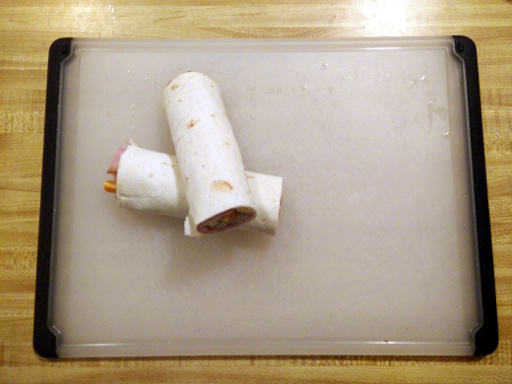
Cut it in half so it can fit in a sandwich bag.
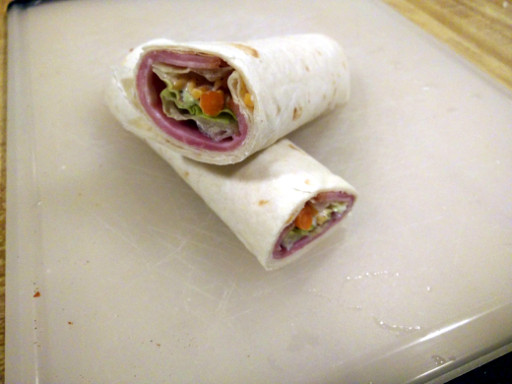
These taste pretty good, if I do say so myself.
And that's how you apply geometry and algebra to get food fit for a perfectionist!

 rss
rss
